Virtual reality is highly engaging for the user… but what if you are with a group or a class? When using VR we need to be creative in order to engage the other people (not in VR). One relatively simply strategy is to cast or stream what the user sees VR, but it just does not do VR justice. A engaging approach is to stream both a participant in the experience and the VR as seen here.
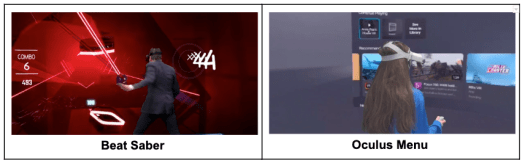
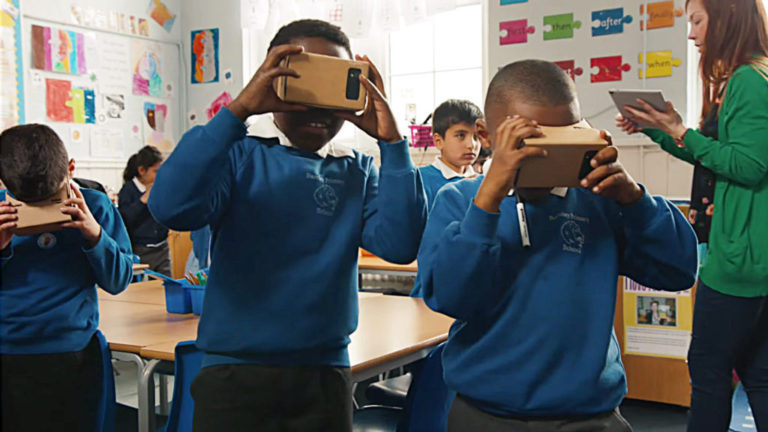
A lot of people got very excited about this when they saw it on The Tonight Show with Jimmy Fallon as seen here, where he and actress Brie Larson, play Beat Saber and you could see her playing it live. This is exactly what I did with the Anne Frank experience and a group of students as seen here.
A preferred strategy for doing this comes from the world of online gamers who stream to Twitch using a free product called OBS. OBS Studio is a comprehensive open-source package for video recording and live streaming the program supports multiple sources including media files, games, web pages, application Windows, webcam for desktop, and microphone, and more. This post explains how to use OBS to stream the participant and the participant’s experience, in this case, using virtual reality:
What you need:
- MacBook
- OBS Studio (Download OBS Studio for Mac) this link is for an older version of OBS that I have had more luck with
- Webcam or FaceTime Camera
- iPad plugged into your Mac as a Camera Source
- VR Headset (with casting capabilities)
The Setup:
- Download OBS Studio
- Click + to create a Scene “Green Screen VR”
- Click + to add Sources
- Select Video Capture Device
- Create new “Webcam”
- Next to Device select the dropdown to find your webcam, click Ok
- Plug your iPad into a USB port of your MacBook (this will allow you to use it as a camera as seen here)
- Again Click + to add Sources
- Select Video Capture Device
- Create new “iPad”
- Next to Device select the dropdown to find your iPad, click Ok
You should now see two sources on your Preview Screen, one with a red outline the other with a blue outline.
For the Green Screen
- Right-click on the WEBCAM video source and select ‘Filter’.
- Click the ‘+’ under the ‘Effects Filters’ section, then select ‘Chroma Key’.
- With your Green Screen Set up, adjust the “Similarity” until you get a clear image.
Simply stream this using a projector or TV and it will allow viewers to get a better view allowing for increased dialogue and a shared experience.